The A3 Engine Installation
Click On images to see a larger version
![]()
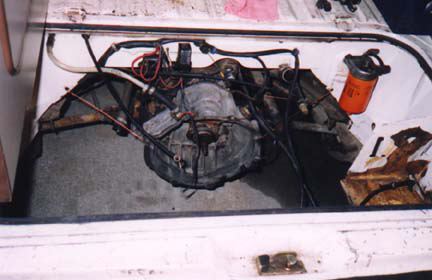
The next step was to pull the old diesel engine. It went pretty easy aside from the thick muck on everything.
Then it was time to clean the engine compartment. Many thanks to Brian, a kid who lives around the corner, for doing such a good job cleaning.
In this picture you can see the welding wire that I use as a transmission support when the engine is out.
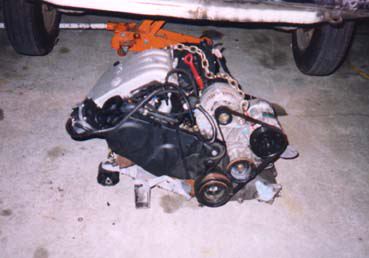
Here is the new A3 engine with the oil pickup from the diesel. I used the original 2.0L oil pump because it fit and the gears were much longer than the gears in the diesel pump. I used the stock diesel oil pan.
Warning when installing the diesel oil pan!
To quote Bentley: Oil pan must be flush with end face of engine block. If it protrudes or there is a gap, clutch housing will be stressed and could break.
I hadn't read that. I noticed a gap and had to shim it up before tightening engine mounting bolts.
Just use a straight edge from the end of the block to the end of the oil pan while tightening it. You will not get another chance when it is in the car.
You can see that I kept the original alternator and A/C compressor. I like that serpentine belt.
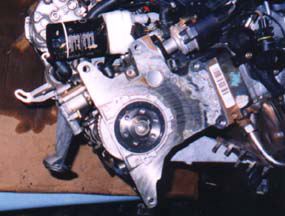
I pulled the Jetta clutch and flywheel, had the diesel flywheel resurfaced, put a new pilot bearing in the Jetta crankshaft, got a new disc and threw it all together. The sheet metal guard under the flywheel was reused from the diesel as well.
The 2.0 power steering pump had to go to because it was in the way of the oil filler tube that comes out of the bottom of the diesel oil pan. With the PS pump gone, there was no longer anything to tension the water pump belt. I ended up using a standard belt from the hardware store that just fit if I pulled the water pump pulley, put the belt on the pulley and then reinstalled the pulley. This is a unorthodox method and it may become a problem if the belt loosens up too much. For now it seems to be working. I suspect it will be fine since the water pump demands so little torque.
The oil filler pipe on mine came very close to the water pump pulley. I gave it about 1/8" more clearance by belt sanding the aluminum angle tube that it connects to. By changing the angle of the sealing surface a couple degrees I got enough clearance that the belt doesn't rub on the filler neck.
I installed the stock diesel mounts on the 2.0. My left side mount was cracked from being run with loose bolts. I've acquired a new one now, but haven't put it in yet.

After a aborted attempt to drop it in through the top with a cherry picker I reverted to the old bus method of up from the bottom. Heck, that engine lid looked pretty big, but alas, the left cabinet got in the way.
![]()
Here my cat Cleo is pacing. Waiting for me to get done putting the engine in.
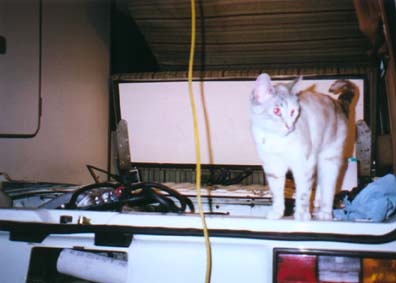
Cleo, surveying the installed engine. Telling me that she knew all along that the cross flow intake manifold wouldn't fit under the deck lid on a 2WD Vanagon. I figured it might not fit, but didn't bother measuring since I knew I would use it anyway.