A Fake Stretch
Planning
A Fake Stretch
What to change:
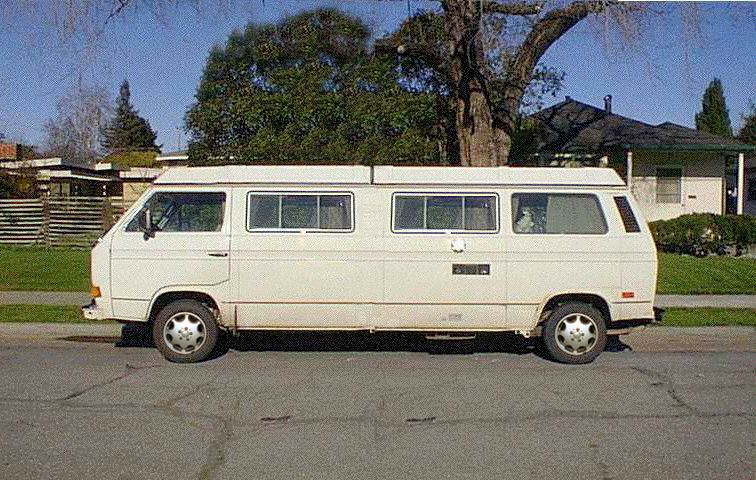
I wanted several new features incorporated into the new stretch.Slicker looks. In order to preview the design, I made the above image using Photoshop. I stretched a picture of a Westie that lives down the street from me. The wheels were added later when I was choosing them.
Hybrid Gas/Electric drivetrain. To allow front wheel drive zero emission driving for about 15 miles around town and mixed use four wheel drive on longer trips.
A modern four cylinder engine. I wanted the better gas mileage, high reliability and lower pollution of a nice new engine. The final choice of a A3 engine from a `97 Jetta was made easier by finding a low mileage wreck at the used parts emporium. I didn't want the extra weight and transmission destroying torque of a V6.
Four wheel drive, to get to those remote desert camping spots in the winter. This necessitated finding a Syncro (4WD) model for the front half.
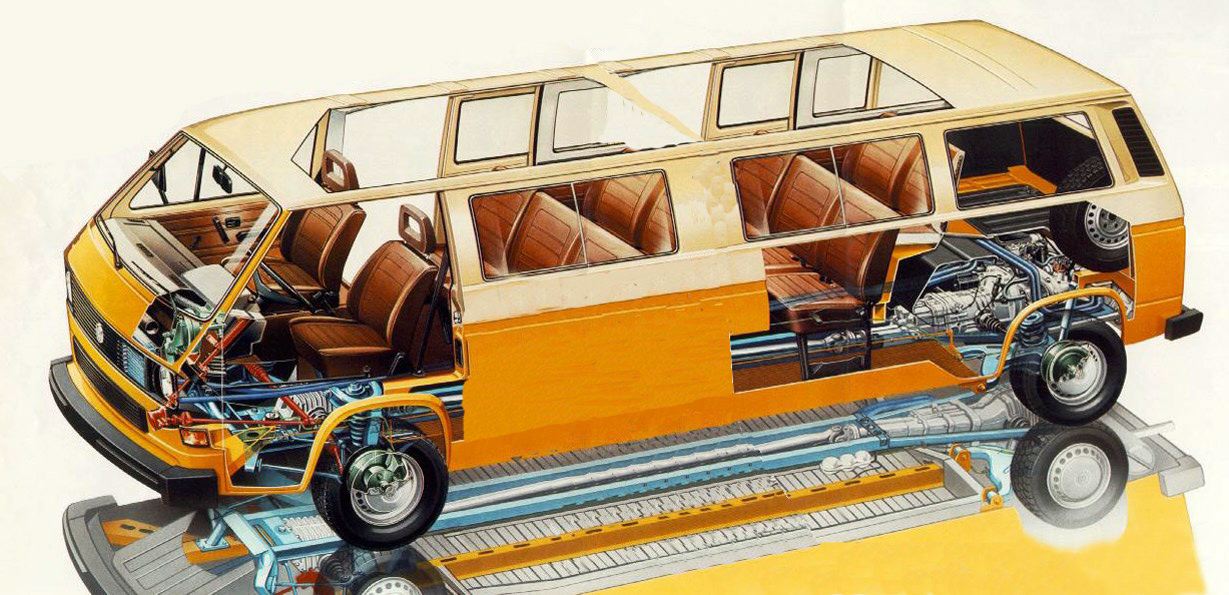
For the fun of it, I stretched a cutaway view of a Syncro.
Stock Westfalia camping gear, for it's light weight and fantastic layout.
Air spring suspension on all four corners. For a smoother ride and to allow for efficient low clearance highway driving and still have the option of high clearance for those rare times that I'm off road.
How to:
I've had a couple requests for instructions on stretching a van. I don't know of any web resources for stretching so I figured I'd put in my $.02 worth.
It's easier to stretch cars by cutting the two outside of some major structural member each. This makes it much easier to weld the seam, the body panels don't warp and you end up with a stronger package.
What I do is have two vehicles sitting side by side. Cut them both where you want to stretch them plus about four inches each. Then just put them near each other and look at the mating areas and figure out the best place to do the splice.
When you have them both trimmed to where you think they should end up, clamp them together and check alignment with tape measure, string and ruler. On loaf busses put a socket in the shift tube to hold it aligned. Check your wheelbase on both sides! That's the best way to be sure you won't be crabbing down the road. Use whatever you can to check that everything is straight.
Remember also that most of the strength is not in the pan, but in the body.Tools to use:
You'll want a MIG welder, I call them glue guns because they are so easy to use. A sawzall with a long metal blade is great for getting through the corners. A handheld grinder helps a lot for flattening out the mating surfaces. An air chisel with a sheet metal cutting bit helps for the roof and large expanses of sheet metal. I used a Hobart Handler 120 MIG welder, I recommend it highly. It is rated at 120 Amps output, runs on 120V single phase input and uses a tank of 75/25 CO2/Argon for a shield gas. I prefer the shield gas over flux wire because it gives a cleaner weld. I learned to use a MIG on my first stretch. Do the inside floor first because it's the easiest weld. :-)
Stages:
I see it happening in five steps. I'm in the third at this time. Planning will continue non stop. ;-)
1) Locating the back half (done!)
2) Upgrading the ICE (infernal combustion engine) (done!)
3) Finding a front half and stretching it (done!)
3.5) Paint, bodywork and gas tank (gas tank done)
3.7) Convert to air suspension
4) Converting the front to electric FWD
5) Endless modifications and improvements
6) Finishing touches Ha! :-)